Adding Rooms & Occupancy
Add rooms to a trip and set the capacity of each room.
Rooms are the building blocks of a trip — each one holds a door sensor, a capacity, and the students staying in it. Rooms and students live together on the trip’s Rooming tab, so you can set up rooms first and place students right after.
Only the trip owner or a planner can edit rooms.
Open the Rooming Tab
Go to Trips, open the trip, and select the Rooming tab. The summary at the top shows Capacity, Assigned, Open spaces, and Unassigned; each number is a shortcut to the matching view.
Start From a Headcount
On an empty trip, enter how many Students are coming and how many go Per room. StayPut shows how many rooms that makes (for example, 12 students at 4 per room = 3 rooms). Add a row per group if you plan groups separately — say, Boys and Girls — then select Create N rooms.
To add rooms later, select Add rooms and enter how many, the capacity, an optional group, and whether they are student rooms or chaperone/staff rooms. Chaperone/staff rooms never count toward student capacity.
Name Each Room and Set Capacity
Each room card has a Room name field (use the real hotel room number, like “101”) and a capacity. Unnamed rooms default to “Room 1”, “Room 2”, and so on. Select several rooms with their checkboxes to change the capacity or group of all of them at once, or to number them in sequence (for example 201–212).
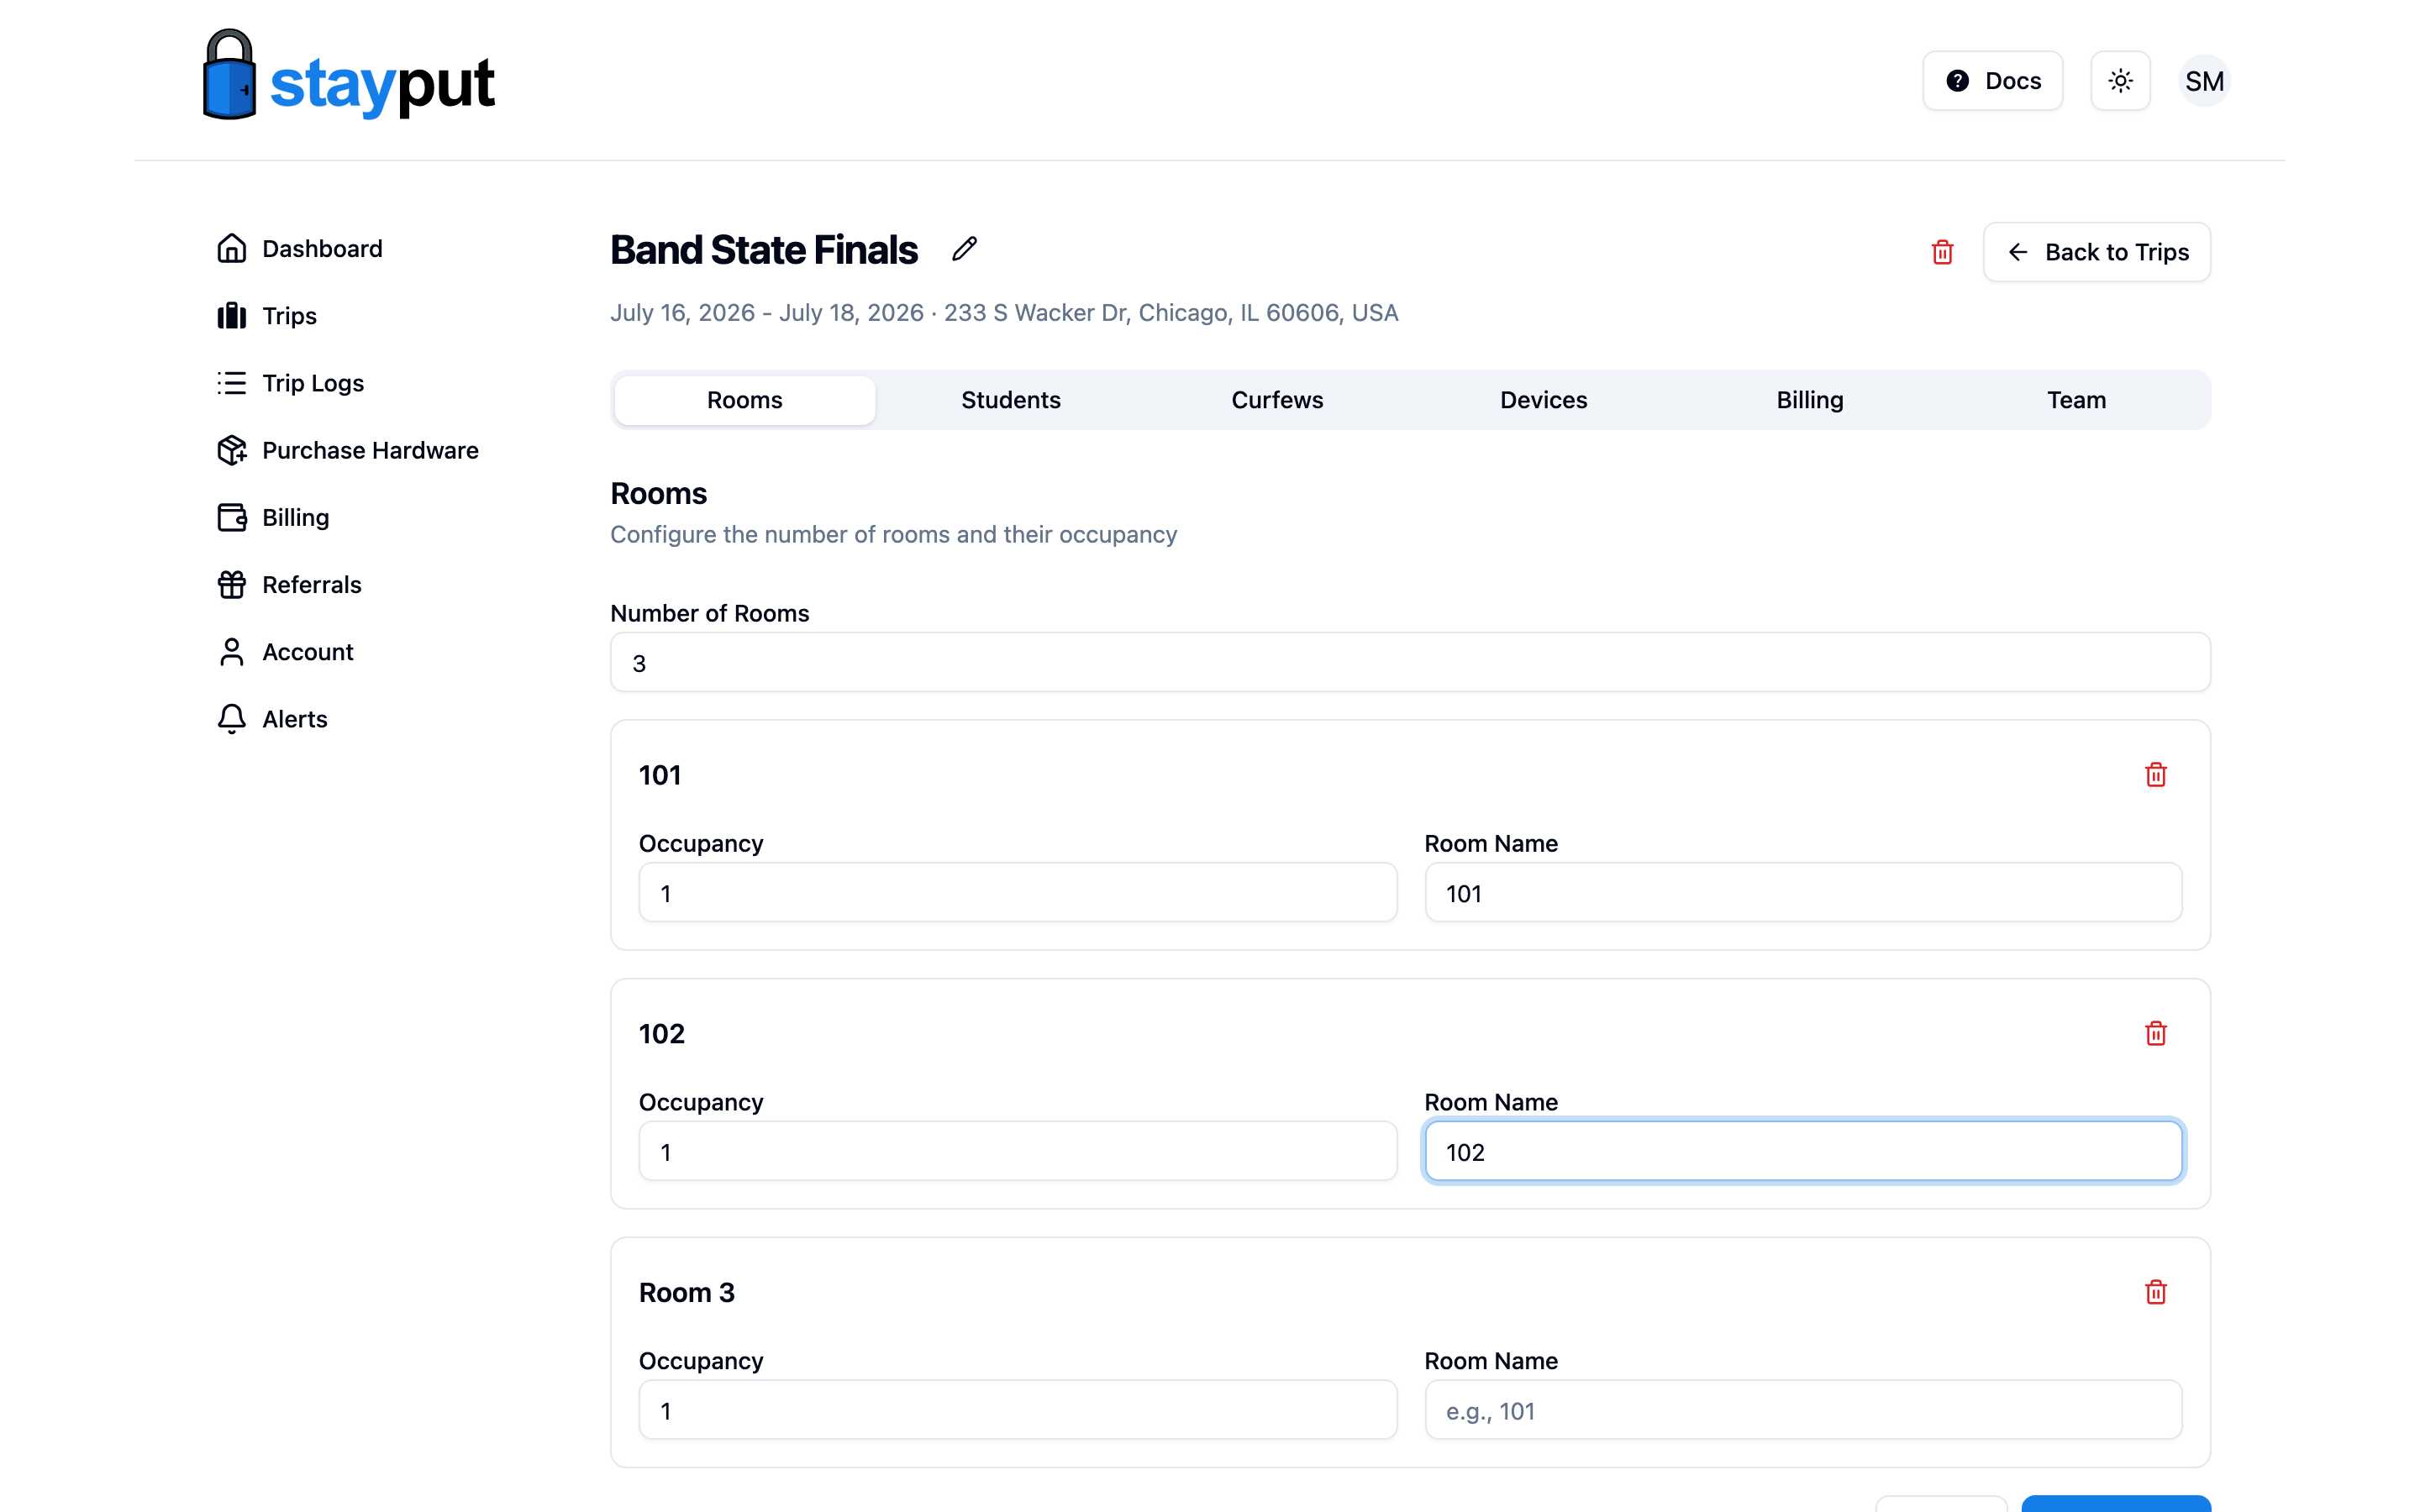
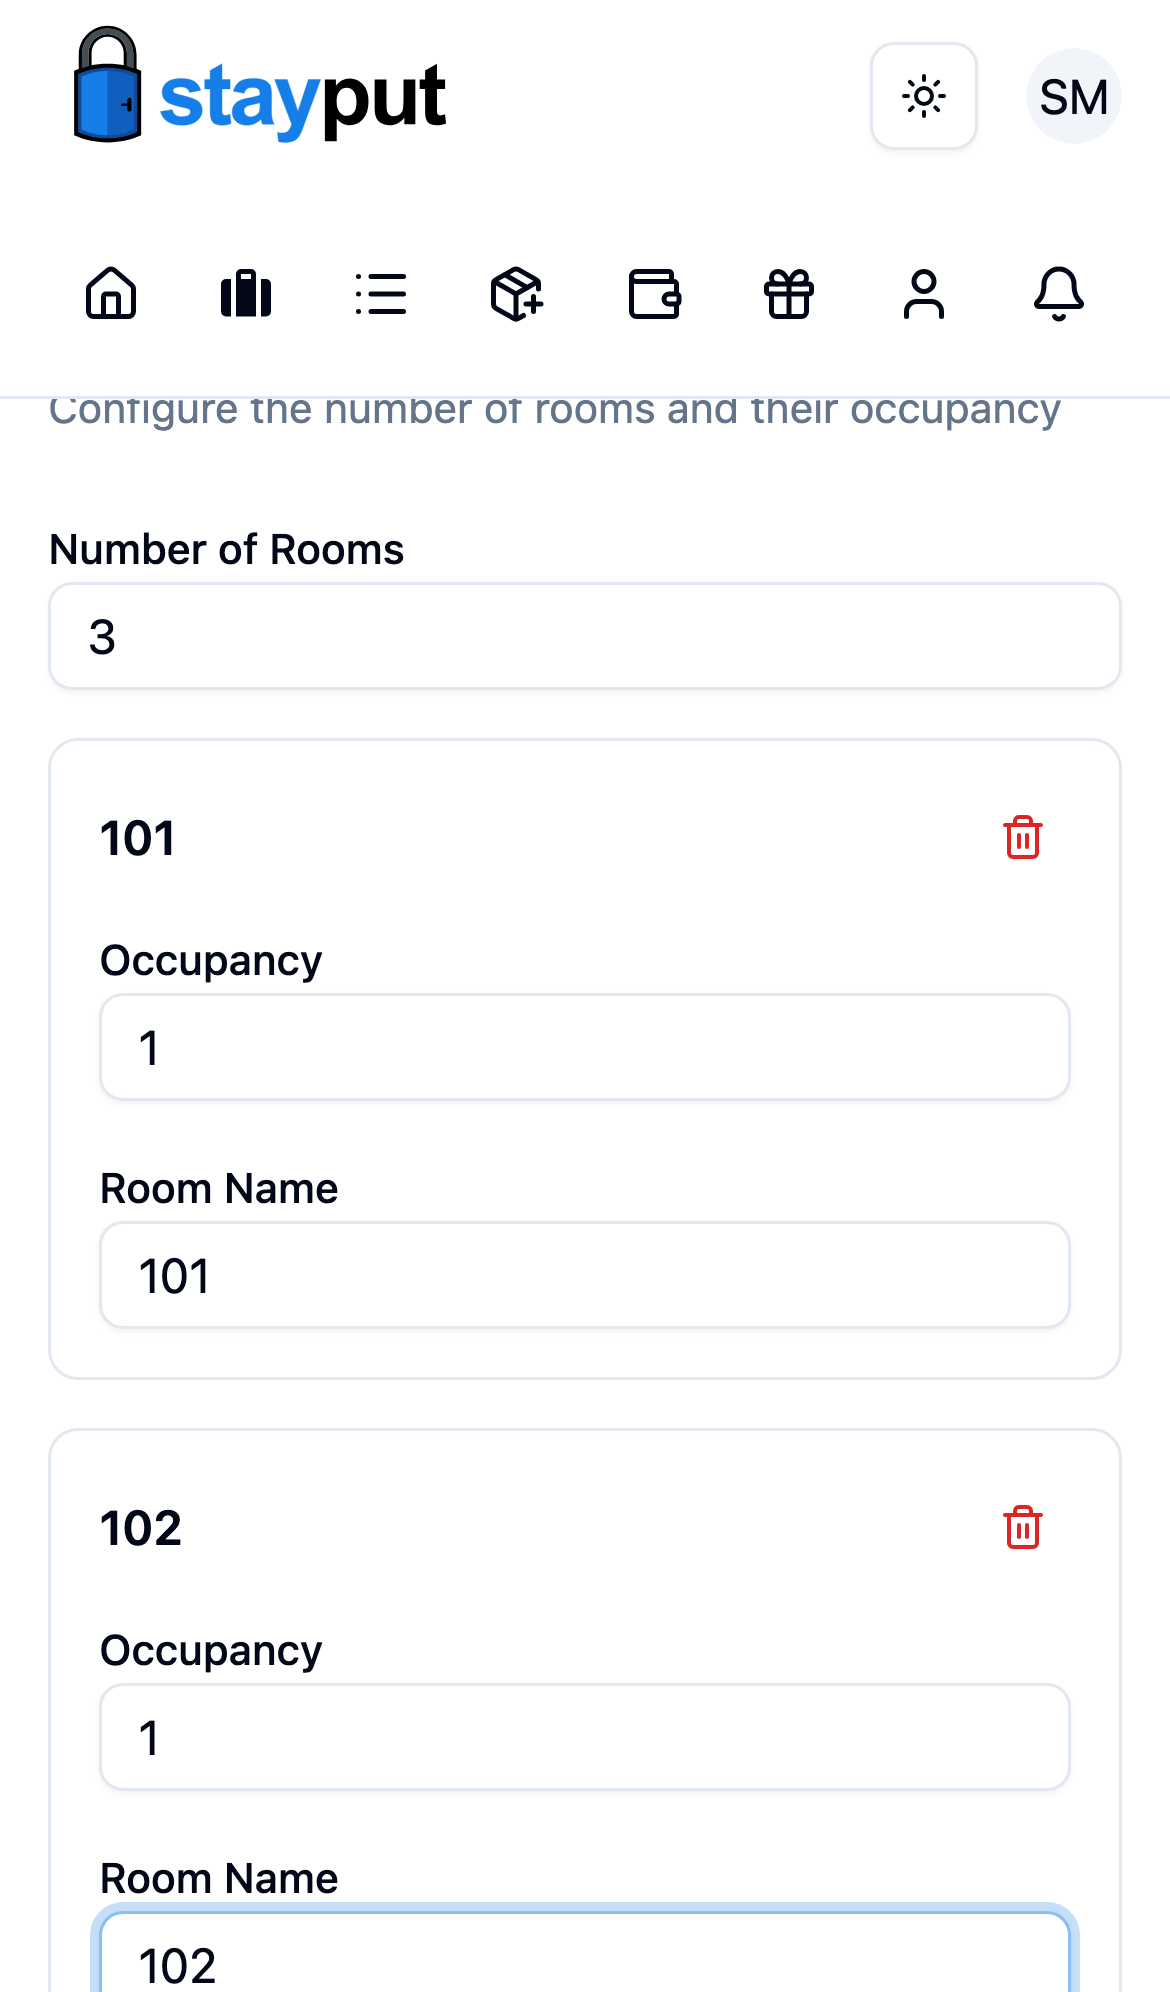
Save
Select Save changes. Until you do, nothing is stored — Undo and Redo step through your edits one at a time, and Discard changes reverts to the last saved plan.
The command box above the room list understands plain phrases such as add 4 rooms of 4, number rooms 201-212, or rename 101 to 1101. It suggests keywords and names as you type, and every command shows a preview before it applies.
Once a trip’s invoice is paid or a purchase order is submitted, the number of rooms is locked, since it determines how much hardware and monitoring the trip was billed for. You can still rename rooms, change capacity, and move students.